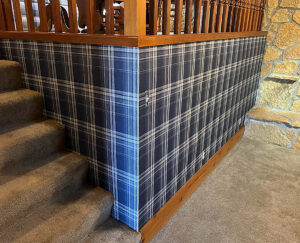
Wallpaper is making a comeback. There are advantages to decorating with wallpaper. When professionally installed, most wallcoverings will last twenty years or more and are fairly…
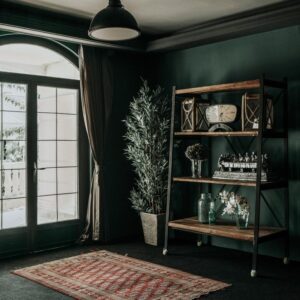
Dan Fulwiler was born in Milwaukee, Wisconsin and started drawing, painting & sculpting as a small child. He graduated high school at Washington High in Germantown,…
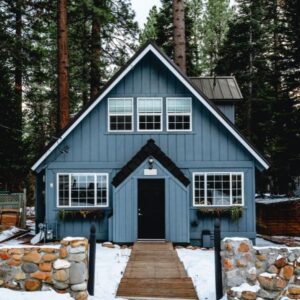
A customer of ours recently remodeled the kitchen of their hunting cabin near Port Edwards, Wisconsin. The carpenter built new cabinets made from reclaimed barn wood,…
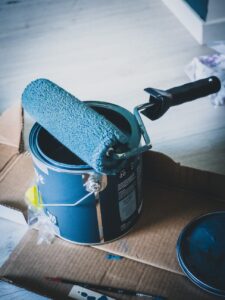
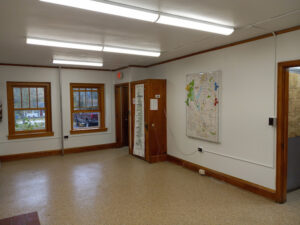
We recently completed plaster repairs and new paint for the Wisconsin Dells Ranger Station on River Road. After the electrician installed all new lighting, Kilbourn Painting…